My 3D Fabrication Workflow
One of the best hobbies I've ever picked up is 3D fabrication. To me, it's art, problem solving, engineering, and sometimes therapy all rolled into one. Over the years I've tried tons of software and tools, and today I'll share the workflow that works for me.
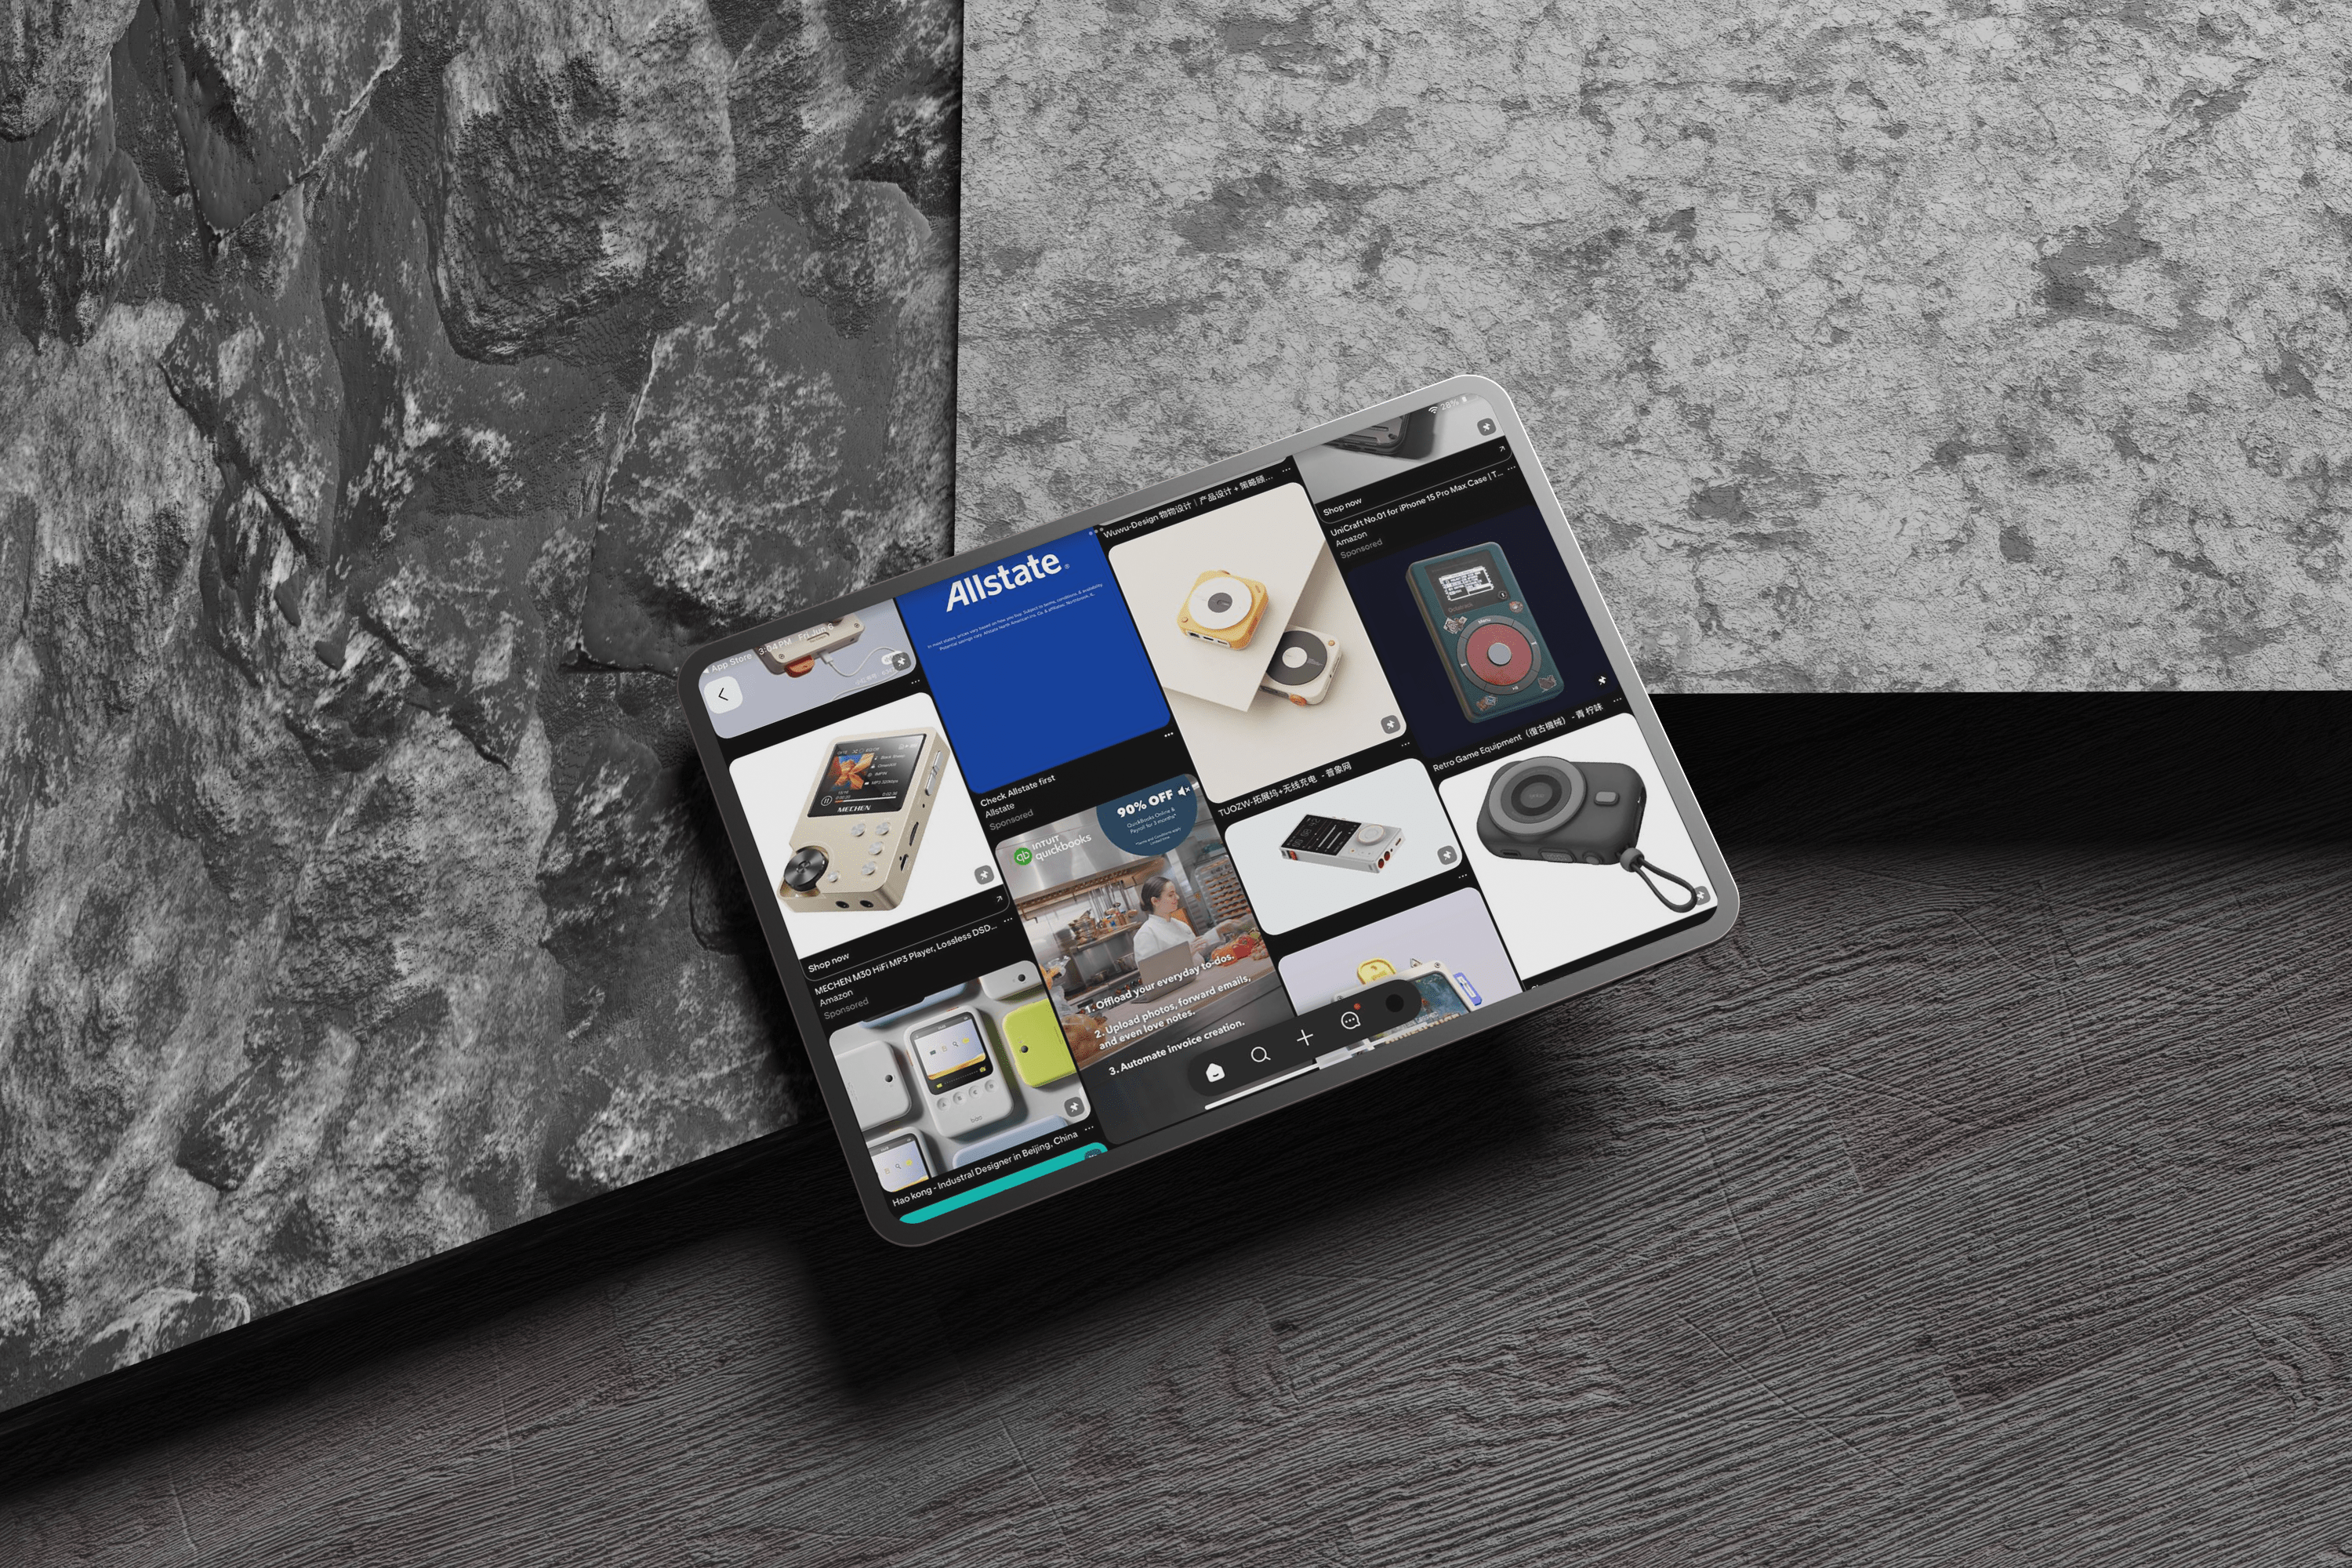
1. IDEAS
First step is always getting ideas. Most times I try to come up with original stuff, but it doesn't hurt to get inspiration online. My go-to is Pinterest. You'll find some really nice design trends there. I pick up some ideas, mix them with my own taste, and make something unique.
Sometimes I'll see a desk organizer and think "what if I made that but with a spot for my headphones?" Or I'll spot a cool geometric pattern and wonder how it would look as a lamp shade. That's usually how it starts.
2. 3D DESIGN
When I was starting out, I used Tinkercad. It's online, drag and drop, super simple. Once I got comfortable with the basics, I moved to Fusion 360. Then I switched to Rhino 3D, and I'm sticking with it.
Rhino is really good. The interface isn't as pretty as Fusion 360, but it's powerful. When you need precise measurements or complex curves, Rhino delivers. Plus once you learn the shortcuts, you can model really fast.
You can find out more about Rhino on their website.
The learning curve was rough at first. I remember spending three hours trying to make a simple box with rounded corners. Now I can knock out complex designs in a much shorter time. It just takes practice.
3. SLICING
So you've designed your object and exported it as STL, OBJ, or STEP file. Problem is, 3D printers don't understand these formats. You need to convert them to G-code - basically instructions the printer can follow.
This is where slicing software comes in. You're setting up everything - material type, printing speed, temperature, layer heights, support structures. Get one setting wrong and your print fails.
I've used multiple slicing programs, but OrcaSlicer is my favorite. The interface is clean, and it has settings that were hard to find in other software. Plus it doesn't crash every time I load a complex model, which is nice.
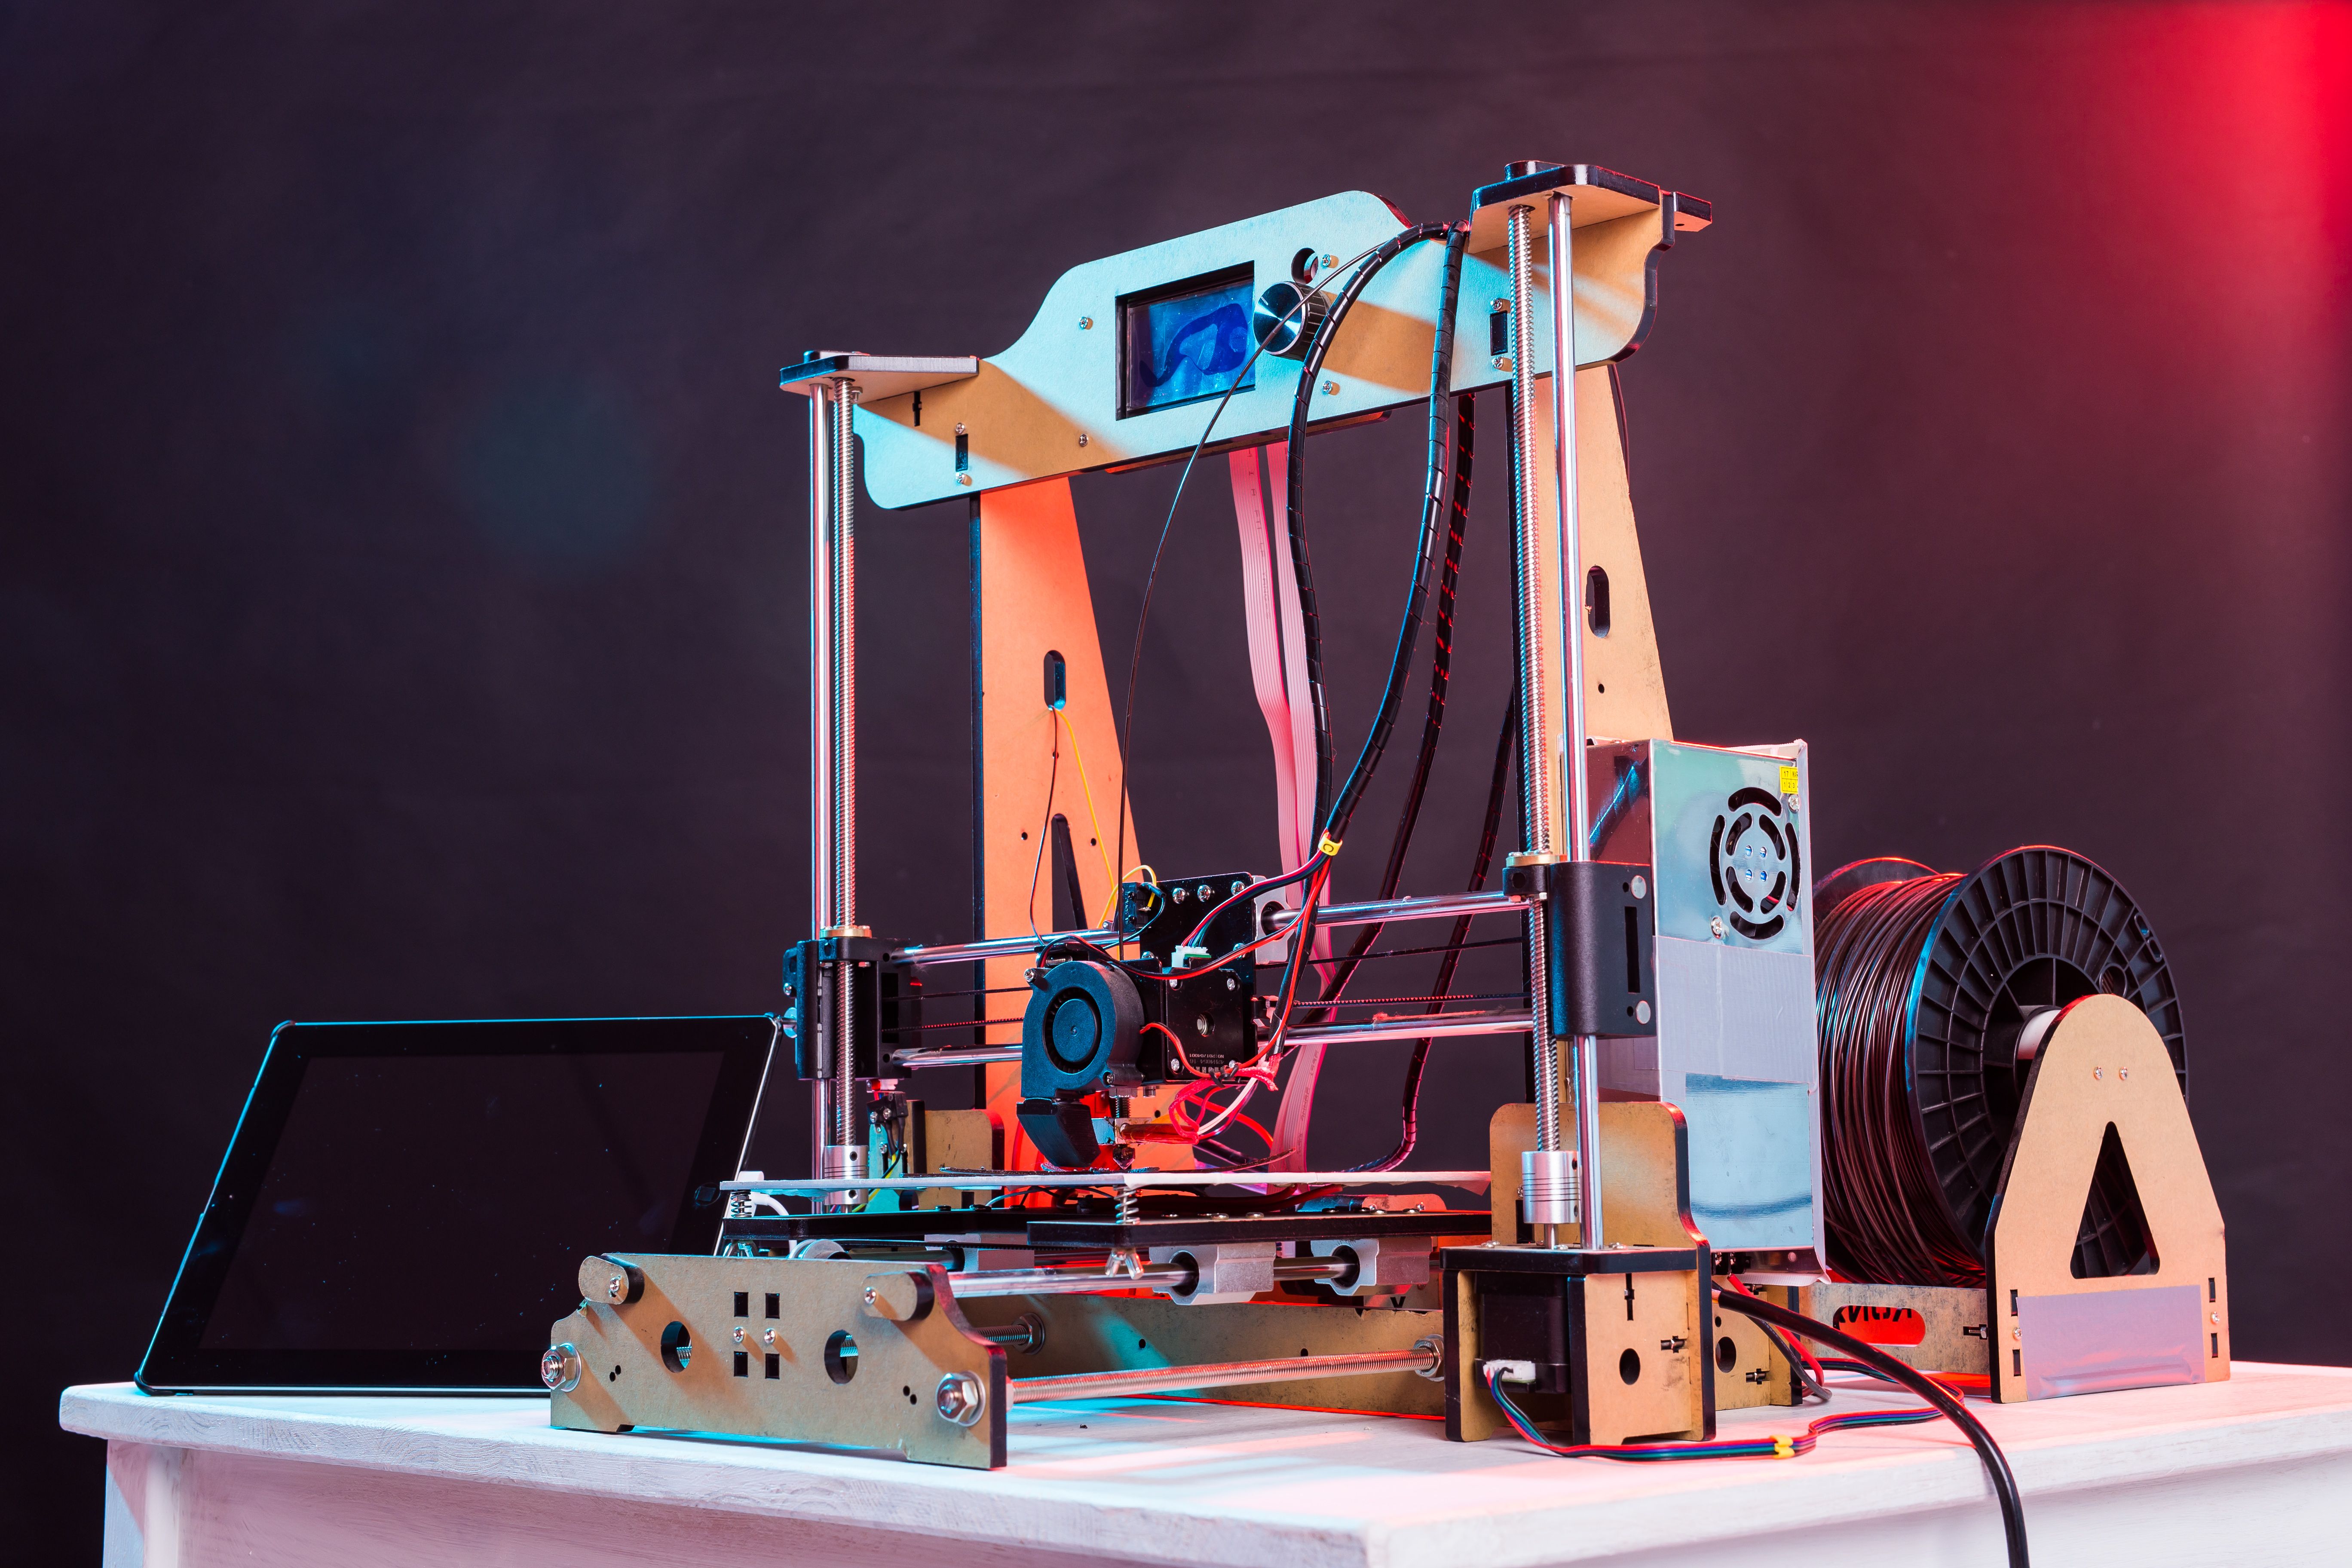
4. PRINTING
I only use PLA filament. Yeah, there are stronger materials out there, but PLA is easy to work with. Lower printing temperature (around 200°C), no toxic smell, perfect for printing at home.
The downside? PLA isn't great with heat. Leave a print in your car on a sunny day and it'll warp. It's also not the strongest material. But for most of my projects - organizers, prototypes, desk accessories - it works great.
I keep saying I'll try other filaments. TPU for flexible stuff, PETG for outdoor projects. Haven't gotten around to it yet. My collection of PLA colors keeps growing instead.
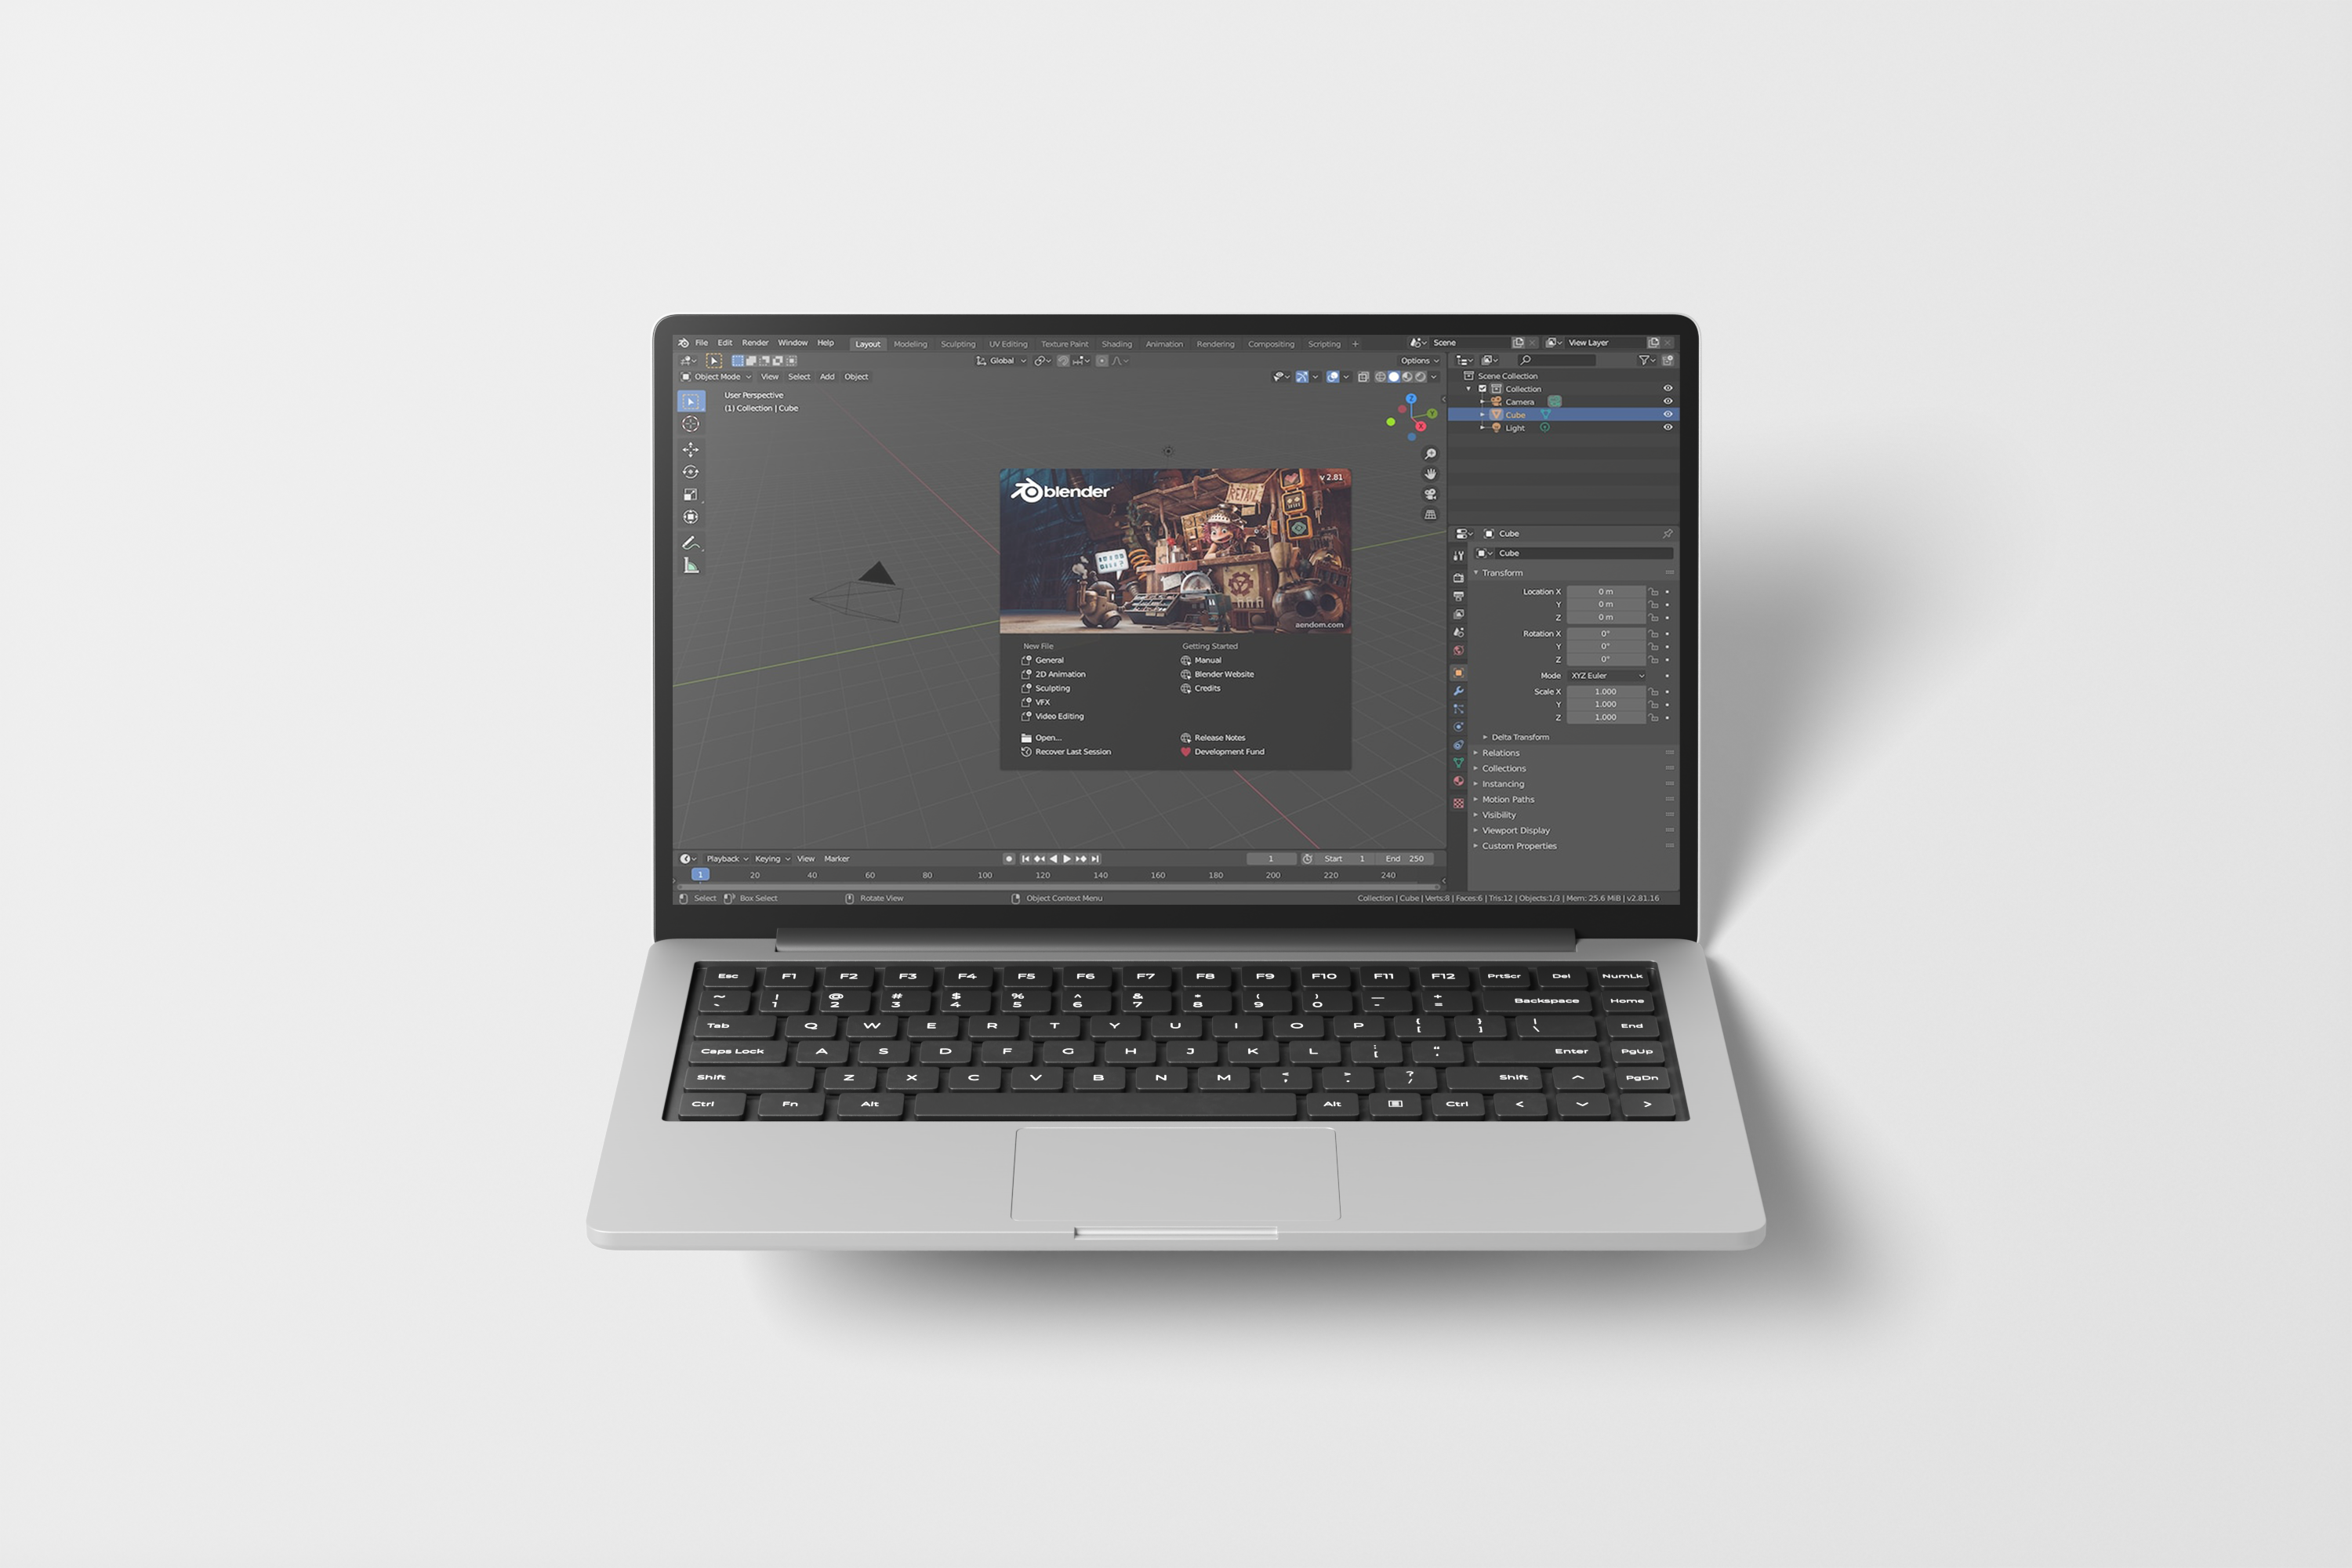
5. VISUALS
For showing off designs, I use Blender. Recently started learning Cinema 4D too. Here's the thing - photographing 3D prints is hard. The layer lines create weird shadows, dust shows up everywhere, and getting good lighting is tricky.
With 3D visualization, you control everything. Perfect lighting, no dust, any background you want. You can make your design look exactly how you imagined it. Creating product renders is actually fun once you get the hang of it.
Real photography has too many variables. With 3D renders, if something looks off, you just adjust it and re-render.